How to Design the Perfect Difficulty Curve for an Arcade Game
Why the Difficulty Curve Makes or Breaks an Arcade Game
The difficulty curve is the single biggest reason players either stay for one more run or close the app forever. Get it wrong in either direction — too easy, too punishing — and no amount of polished art or clever mechanics will save your retention numbers.
Arcade games live and die by their session loops. Unlike RPGs where players invest hours before hitting a wall, casual arcade players make a judgment call within the first 60 to 90 seconds. If the challenge doesn't feel fair and escalating, they're gone. Studies of mobile game drop-off consistently show that the sharpest churn happens in the first three sessions, almost always tied to pacing problems rather than content gaps.
The good news: difficulty pacing is a craft with learnable rules. You don't need a massive team or expensive analytics software. You need a clear mental model, a few reliable techniques, and the willingness to iterate.
Understanding the Flow State and the Challenge-Skill Balance
Flow state is the psychological zone where a player is fully absorbed — challenged enough to stay focused, but not so overwhelmed that they panic. Psychologist Mihaly Csikszentmihalyi first described this concept, and game designers have been building around it ever since.
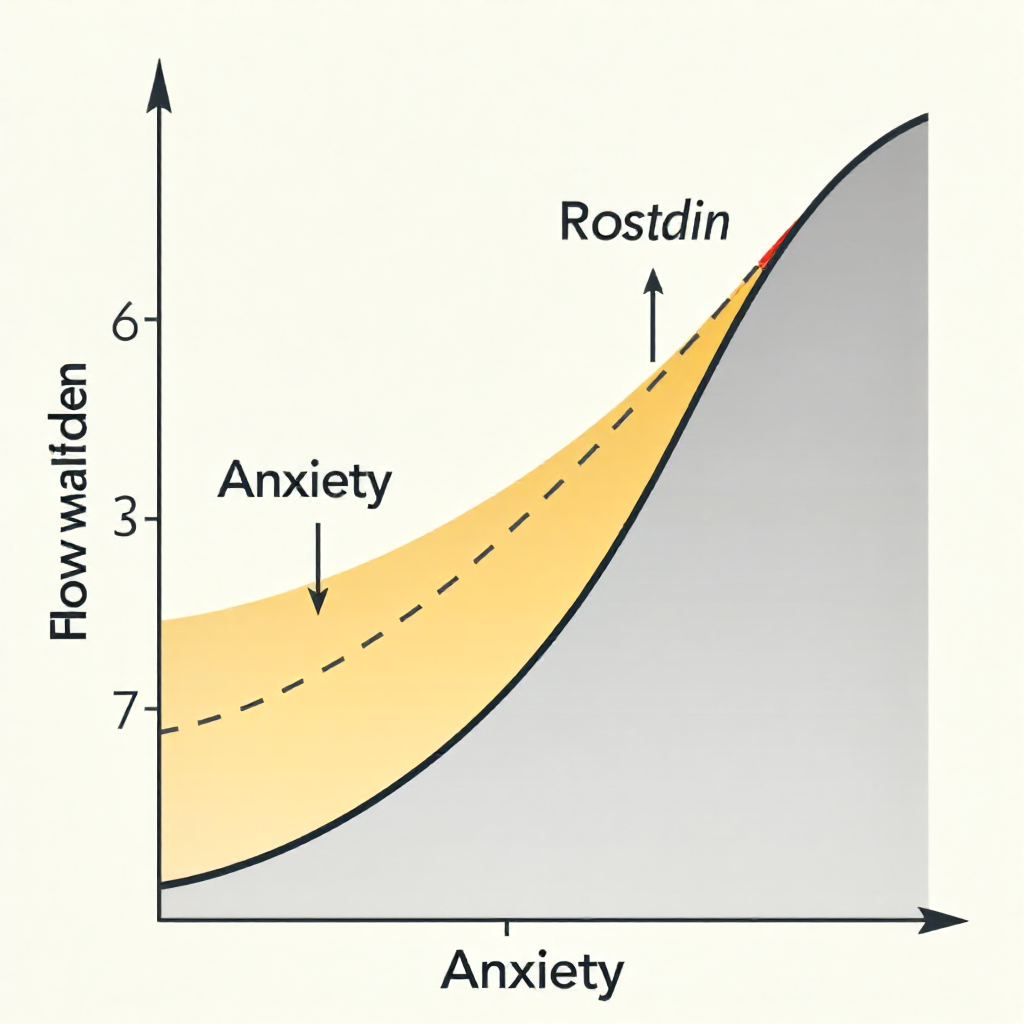
Think of it as a corridor. On one wall is boredom; on the other, anxiety. Your difficulty curve is the path you're drawing through that corridor. The moment challenge outpaces the player's current skill, anxiety kicks in. The moment skill outpaces challenge, boredom sets in. Both end the same way: the player stops.
For arcade games specifically, the player skill ceiling rises faster than most designers expect. Casual players adapt to simple mechanics within a few runs. If your escalation doesn't keep pace, the game feels solved — and solved games don't get replayed.
The practical takeaway: design against the flow corridor, not against an abstract difficulty number. Ask yourself at every stage, "Is this still surprising the player without punishing them unfairly?"
The Four Phases of a Well-Structured Difficulty Curve
A well-designed arcade difficulty curve follows four distinct phases: onboarding, escalation, spike, and mastery. Each phase has a specific job, and skipping or rushing any of them creates the gaps where players fall out.
Phase 1: Onboarding
The onboarding phase teaches the core mechanic without demanding mastery of it. In a casual arcade game, this should last no longer than 30 to 45 seconds of real play time — roughly the first 10 to 15% of a typical session. Introduce one mechanic at a time. Let the player succeed easily. The goal isn't to challenge; it's to build confidence and teach the vocabulary of your game.
Avoid text-heavy tutorials. Show the mechanic through the environment itself. If the player needs to dodge left, put an obstacle on the right and leave the left path open. Action teaches faster than instruction.
Phase 2: Escalation
Escalation is where the bulk of your session lives. Obstacle frequency increases, timing windows tighten, and new elements layer in gradually. The key word is gradually. Each new variable should appear in isolation first, then combine with existing ones. Introducing two new mechanics simultaneously is one of the most common ways designers accidentally create invisible difficulty spikes.
Phase 3: The Spike and Plateau
A deliberate spike and plateau pattern keeps sessions from feeling monotonous. A spike is a sudden, short burst of intense challenge — a fast enemy wave, a tight obstacle corridor, a timing sequence that demands precision. After the spike, ease off slightly. Give the player a breath. This rhythm creates the "just one more run" feeling that defines addictive arcade loops.
The critical rule: spikes must feel survivable in hindsight. If a player dies during a spike and thinks "that was impossible," you've lost them. If they think "I almost had it," you've got them back for another attempt.
Phase 4: Mastery
Late-game mastery phase rewards players who've internalized your mechanics. Speed increases, patterns become more complex, and the reward loop tightens. At this stage, the game is communicating: "You're good at this." That feeling of earned competence is what converts casual players into loyal ones.
Using Probability and RNG to Control Perceived Difficulty
Controlled randomness is one of the most underused difficulty levers in casual arcade design. By adjusting spawn rates, obstacle timing, and drop chances through probability parameters, you can soften or sharpen perceived difficulty without changing a single rule.
Here's a concrete example. Suppose your game spawns three obstacle types: easy, medium, and hard. Early in a session, you might weight the probability distribution at 60% easy, 30% medium, 10% hard. As the session progresses, you shift the weights — 20% easy, 40% medium, 40% hard. The player experiences increasing challenge, but the system never locks them into an impossible sequence. RNG acts as a buffer between your hand-crafted difficulty ceiling and the player's actual experience.
This technique, sometimes called procedural difficulty scaling, also helps with replayability. Because no two runs are identical, players can't fully memorize and automate their way through the game. There's always a small element of adaptation required, which keeps the flow corridor active longer.
One caution: pure randomness without guardrails destroys fairness. If your RNG can legitimately produce an unwinnable sequence — three hard obstacles back to back with no reaction time — players will blame the game, not their skill. Use weighted probability tables and cooldown timers on your hardest events to keep randomness feeling fair even when it's punishing.
Common Difficulty Curve Mistakes (and How to Fix Them)
Most difficulty problems in arcade games fall into a handful of repeatable patterns. Recognizing them early saves significant rework time.
Mistake 1: The Early Spike
Designers who know their own game intimately often underestimate how hard the first 20 seconds feel to a new player. They skip or shorten the onboarding phase and introduce challenge before the player has internalized the controls. The fix is straightforward: playtest with someone who has never seen the game, and watch their first 30 seconds without saying a word. Where they hesitate or fail is where your onboarding needs more space.
Mistake 2: The Flat Plateau
A long stretch of identical challenge is the slow death of retention. Players stop paying attention. The fix is to schedule deliberate escalation checkpoints — every 30 to 45 seconds of play, introduce at least one new variable or increase an existing one by a measurable increment (speed +5%, spawn rate +1 per 10 seconds, etc.).
Mistake 3: Invisible Difficulty
If players don't know why they failed, they can't improve — and without the sense of improvement, the reward loop breaks. Every failure needs a clear feedback signal: a visual flash, a sound cue, a slow-motion moment that says "here's what got you." Invisible difficulty feels like unfairness even when the design is technically sound.
Mistake 4: Ignoring the Skill Ceiling
Some designers cap difficulty too low, assuming casual players won't reach advanced stages. Skilled casual players hit that ceiling quickly and leave. Build further than you think you need to — even if 80% of players never see it, the 20% who do will become your most vocal advocates.
How to Playtest and Iterate Your Difficulty Settings
Playtesting is the only reliable way to validate a difficulty curve. Internal testing alone is almost never sufficient — you know the game too well to experience it as a new player does.
For solo developers or small teams, a few high-value methods stand out:
- Session recording: Record playtest sessions (with permission) and watch where players slow down, hesitate, or quit. Patterns across multiple players reveal systemic problems, not individual skill differences.
- Death heatmaps: Log where in the session players die most frequently. A cluster of deaths at the same point in the difficulty curve is a clear signal to investigate that zone.
- Retention metric tracking: Even a simple spreadsheet tracking how many sessions each tester completes before stopping gives you a baseline. If average session count drops after a design change, the change probably hurt your curve.
- The "five-second rule" for feedback: After each playtest death, ask the player what they think caused it. If they can't answer within five seconds, your feedback signals aren't clear enough.
Iterate in small increments. Changing three variables at once makes it impossible to know which change produced which effect. Adjust one parameter, run five to ten sessions, measure, then adjust again. Slow iteration produces reliable results faster than large overhauls.
Quick-Reference Checklist for Your Difficulty Curve
Use this list as a final sanity check before shipping or updating your difficulty settings:
- Onboarding phase lasts no more than 15% of a typical session and introduces mechanics one at a time
- Escalation adds at least one new variable or measurable increment every 30 to 45 seconds
- Spike events are survivable — players who die should feel "I almost had it," not "that was impossible"
- Plateau periods follow spikes to give players a recovery breath before the next escalation
- RNG spawn weights are tuned by session phase, with cooldowns preventing unwinnable sequences
- Every failure has a clear feedback signal (visual, audio, or haptic) tied to the specific cause
- Difficulty extends beyond what you expect your average player to reach
- Retention metrics are being tracked across at least five playtest sessions per build
Frequently Asked Questions
What is a difficulty curve in game design, and why does it matter for arcade games specifically?
A difficulty curve is the shape and pacing of challenge over time in a game. In arcade games, it matters more than in most genres because sessions are short, player commitment is low, and the decision to quit or replay happens within the first few minutes. A poorly paced curve kills retention before the player ever reaches the content you worked hardest to build.
How do I know if my difficulty spike is too steep for casual players?
Watch playtest sessions at the spike point without coaching the player. If they fail more than three times in a row at the same moment and show frustration rather than determination, the spike is too steep. The target emotional response is "almost" — not "impossible."
Can randomness replace hand-crafted difficulty design?
No. RNG is a modulation tool, not a replacement for intentional design. Pure randomness without weighted probability tables and cooldown logic produces unfair sequences that feel broken. Use procedural difficulty scaling to add variability on top of a hand-crafted foundation, not instead of one.
How long should the onboarding phase last in a casual arcade game?
Aim for 30 to 45 seconds of actual play time, or roughly the first 10 to 15% of a typical session. Shorter than that and players miss core mechanics; longer and they get bored before the game has a chance to engage them.
What tools or methods can indie developers use to test difficulty without a large playtest group?
Session recording, death heatmaps, and simple retention tracking (sessions per tester before quitting) give meaningful data with groups as small as five to ten players. Tools like Unity Analytics or even a basic spreadsheet can capture enough signal to make informed adjustments. The key is consistency — test the same metrics across every build so changes are comparable.